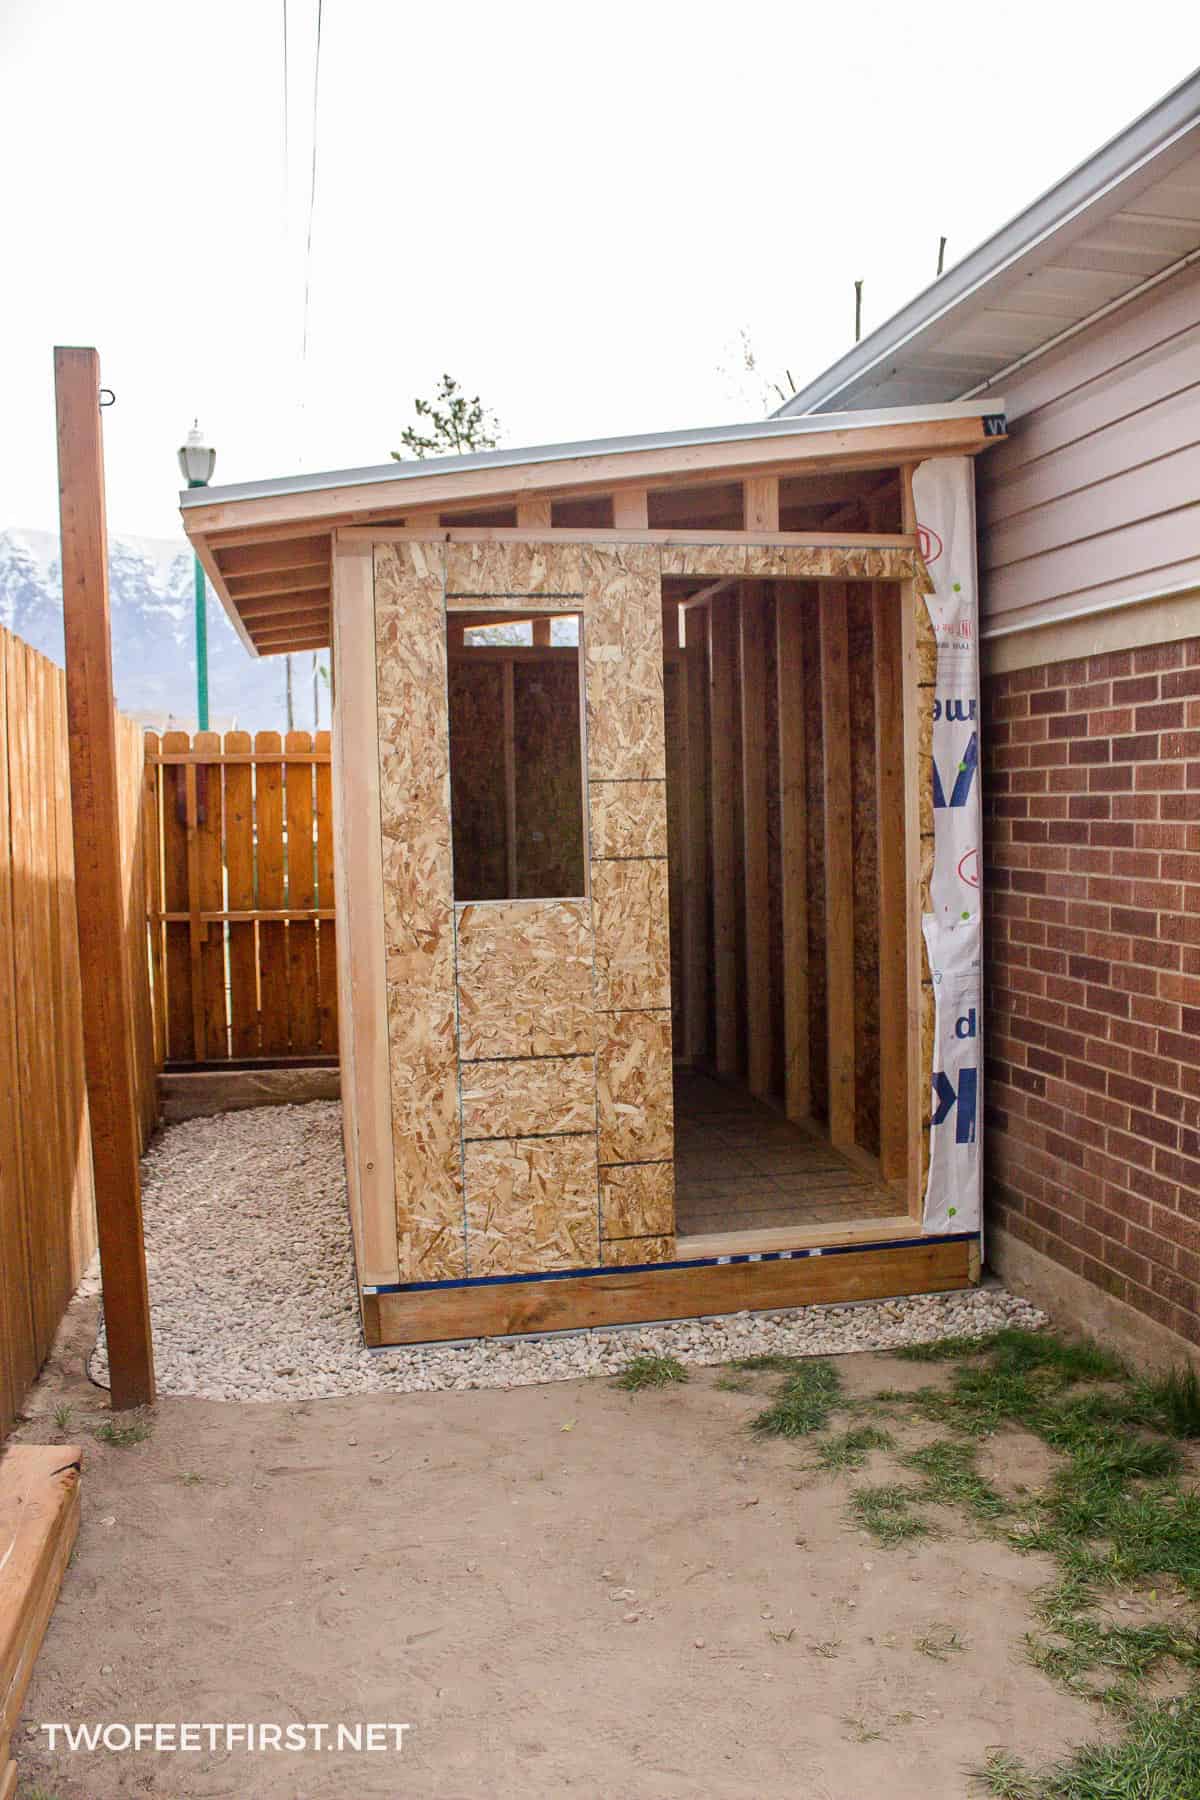
Conquer Your Clutter: Build a Lean-To Shed in a Weekend!
Dreaming of extra storage space but dreading the expense and hassle of a professional build? Forget those worries! This guide empowers you to construct a sturdy and practical lean-to shed in a weekend, or even less, depending on your skill level and available help. We'll break down the process into manageable steps, using readily available materials, and providing tips for a successful, DIY project. Prepare to conquer your clutter and reclaim your yard!
Planning Your Lean-To Shed: Size and Site Selection
Before grabbing your tools, meticulously plan your shed. Determine the ideal size based on your storage needs. Consider the dimensions of the items you'll be storing â€" bikes, gardening tools, outdoor furniture, etc. â€" and add a little extra space for maneuvering. Next, choose the location carefully. Select a level area with good drainage to avoid foundation issues. Check for overhead obstructions (power lines, trees) and ensure you have enough clearance from property lines and other structures. Consider sun exposure; a south-facing lean-to will benefit from more natural light.
Essential Materials List:
Before you start, gather all your materials. This saves time and frustration! Your list will vary based on your shed's size and desired features, but generally includes:
- Pressure-treated lumber (4x4 posts for the base, 2x4s for the frame, and plywood or corrugated metal for the roof and walls)
- Concrete for the foundation (or use alternatives like pavers or gravel depending on your local climate and ground conditions)
- Roofing felt or underlayment
- Roofing material (shingles, metal roofing, or even durable plastic sheeting)
- Nails, screws, and a level
- Post hole diggers (or a shovel for softer ground)
- Measuring tape, saw, hammer, drill, and other basic carpentry tools
Foundation and Framing: The Sturdy Base
A solid foundation is critical. Dig post holes approximately 2-3 feet deep, ensuring they're perfectly plumb (vertical). Set your 4x4 posts into the holes, fill with concrete, and let it set completely. This step can be done a day before the main build for a quicker turnaround. Once the concrete is dry, construct the frame using 2x4s, attaching them securely to the posts to form the walls and roofline of your lean-to. Maintain consistent measurements and use a level throughout.
Roofing and Siding: Weather Protection
Lay down roofing felt or underlayment to create a waterproof barrier under your chosen roofing material. This prevents leaks and extends the life of your shed. Then, carefully install your roofing material (shingles, metal, etc.), overlapping to ensure complete coverage. Finally, attach your chosen siding material (plywood, corrugated metal, etc.) to the frame. Consider adding a simple door for access. If using plywood, remember to treat it with a weather-resistant sealant to improve durability.
Finishing Touches and Essential Safety Precautions
Add any finishing touches, such as trim or paint. A fresh coat of paint protects your shed and adds curb appeal! Always prioritize safety. Wear appropriate safety gear, including safety glasses, gloves, and sturdy work boots. Be mindful of falling debris while working on the roof. Use appropriate safety harnesses if working at height. Ensure all tools are correctly maintained and used following instructions.
Building a lean-to shed is a rewarding project that boosts your DIY skills and provides invaluable additional storage space. With careful planning and attention to detail, you can create a functional and attractive structure that enhances your property â€" all within a weekend!


No comments:
Post a Comment