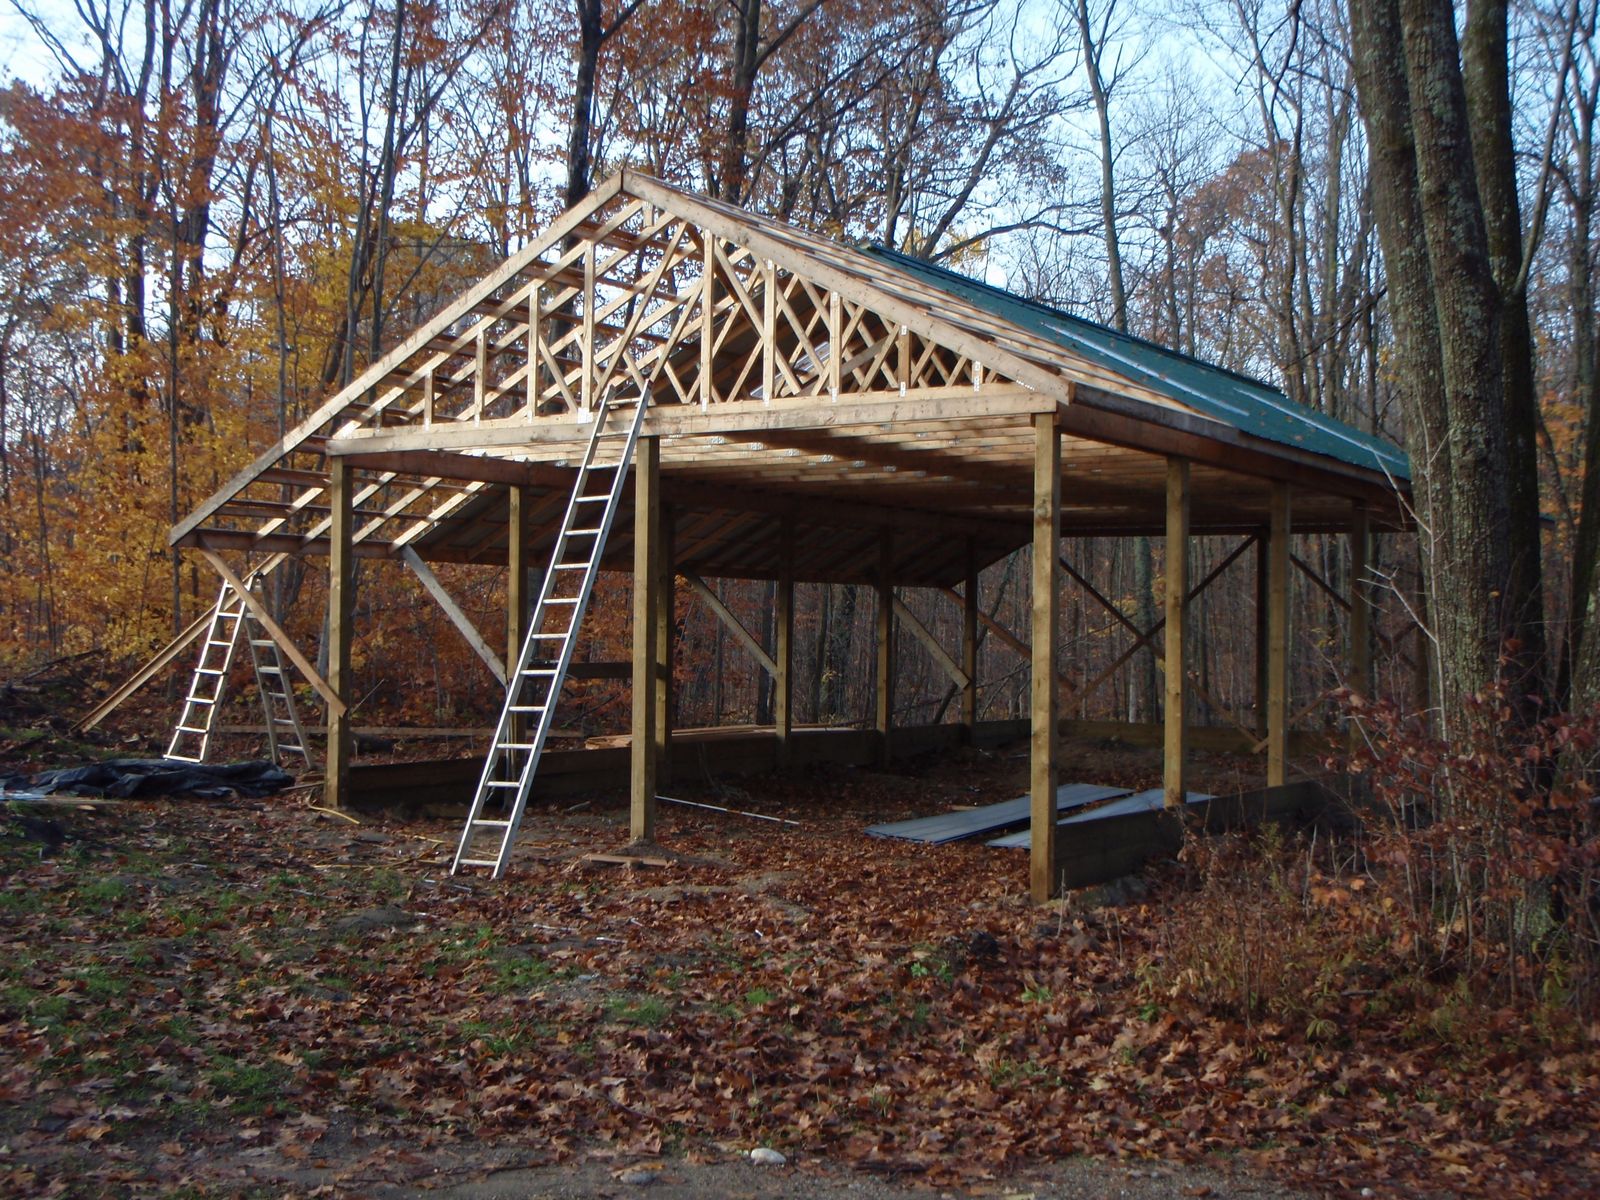
Hey there, folks! Ever dreamt of building a space that's uniquely yours, a structure that blends practicality with a touch of rustic charm? A pole barn might be the perfect answer! They're versatile, durable, and, if you're a DIY enthusiast, totally achievable. But before you grab your hammer and nails, let's dive into the world of timber and talk about building a pole barn with high-quality wood.
First Things First: The Timber Talk
Choosing the right timber for your pole barn is crucial, like picking the perfect foundation for a beautiful house. You want wood that's strong, durable, and resistant to the elements. Here's a quick rundown of some popular timber options:
Pressure-Treated Pine: This is a classic choice. It's treated with chemicals to resist rot, decay, and insects, making it perfect for the posts that touch the ground. It's relatively affordable and readily available.
Redwood: Known for its natural resistance to rot and insects, redwood is a premium choice that adds a rustic touch to your barn. It's pricier than pine, but its longevity makes it a worthwhile investment.
Cedar: Another natural beauty, cedar is known for its beautiful aroma and its natural resistance to insects and moisture. It's a good choice for siding, especially in areas with high humidity.
Douglas Fir: This strong, durable wood is ideal for structural framing and beams. It's known for its resistance to warping and twisting, making it a good choice for larger spans.
Hardwoods: Oak, maple, and hickory are great for flooring, especially if you want a durable and stylish finish. They're also strong and resilient, making them good choices for interior accents.
A Blueprint for Your Dream Barn:
Now that we've got the timber talk out of the way, let's sketch out the foundation of your project. You'll need a good set of blueprints. These will outline the dimensions, layout, and all the structural details of your barn. Think of them as your roadmap to success!
Setting the Stage: The Foundation
The foundation is the cornerstone of your barn. Here's what to keep in mind:
Concrete Piers: These are the most common foundation type for pole barns. They're sturdy, long-lasting, and relatively easy to install. You'll dig holes, set in concrete forms, and pour the concrete.
Footings: For more complex designs or heavier loads, you might need larger footings. These are essentially wider concrete pads that provide a broader base for the posts.
Skids: If you're in a region with frost heave, skids are a good option. They're essentially heavy timbers that are sunk into the ground and provide a base for the posts to sit on.
Erecting the Poles:
Now it's time to get those posts in place! This is where your blueprint will be your best friend. Follow these steps:
Position the Posts: Use your blueprint and string lines to mark the exact locations for your posts.
Dig the Holes: Dig holes for the posts, ensuring they're deep enough for proper support and below the frost line.
Set the Posts: Carefully lower the posts into the holes, making sure they're plumb and level.
Secure the Posts: Fill the holes with concrete, making sure the posts are securely anchored.
Framing the Roof:
Once your poles are up, it's time to start building the roof. Here's a basic breakdown:
Trusses: These are pre-engineered frames that provide the structural support for the roof. They come in various sizes and shapes, depending on the span of your barn.
Rafters: If you're not using trusses, you'll need to create a system of rafters that span from the poles to the ridge of the roof.
Sheathing: This is the layer of plywood or OSB that goes on top of the rafters to provide a solid base for the roofing material.
Roofing Material: Choose a roofing material that suits your needs and budget, from traditional asphalt shingles to metal roofing.
Walling the Barn:
Time to enclose your barn! There are a few options for walling:
Wood Siding: This classic option offers a traditional look and is readily available in various styles.
Metal Siding: Durable, low-maintenance, and available in a wide range of colors, metal siding is a popular choice for pole barns.
Fiber Cement Siding: A good blend of durability and aesthetics, fiber cement siding offers the look of wood with the low-maintenance benefits of metal.
Adding the Finishing Touches:
Once the walls are up, you can add the finishing touches that make your barn truly unique:
Doors and Windows: Choose doors and windows that match your barn's style and provide the right amount of light and ventilation.
Flooring: If you're planning to use your barn for more than just storage, consider adding flooring. There are a variety of options available, from concrete to wood to epoxy flooring.
Insulation: If you're planning to use your barn for living space or during the colder months, you'll want to add insulation to the walls and roof.
Interior Finishing: Add finishing touches to the interior, such as drywall, paint, or even custom wood paneling.
A Journey into the World of Pole Barns:
Building a pole barn is a rewarding experience. It's a journey of creativity, craftsmanship, and a deep connection with timber. Just remember to prioritize safety, plan carefully, and embrace the learning process. With a little hard work and dedication, you can create a structure that's as unique and beautiful as your dreams. Happy building!


No comments:
Post a Comment