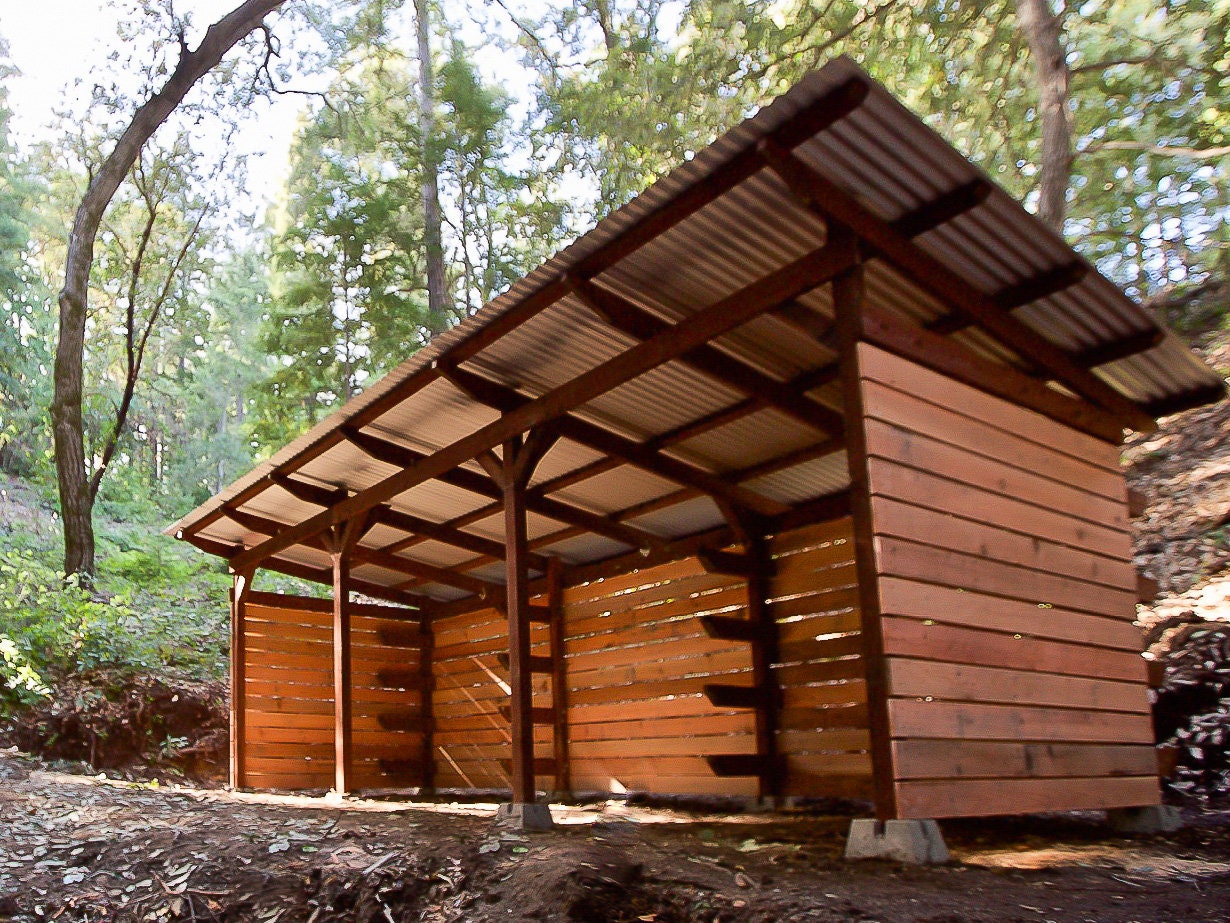
Build Your Own Lean-To Shed: A Simple DIY Guide
Tired of overflowing garages and cluttered yards? A lean-to shed offers a simple, affordable solution for extra storage space. This step-by-step guide empowers you to build your own, even if you're a novice DIYer. We'll walk you through each stage, from planning and materials to the final finishing touches. Get ready to transform your outdoor space!
Planning Your Lean-To Shed
Before you grab your tools, careful planning is crucial. First, choose a location that’s level, accessible, and complies with local building codes. Consider proximity to power sources if you plan on using electricity inside. Next, determine the size of your shed. Smaller sheds are easier to manage for beginners. Finally, sketch a simple design. This will serve as your blueprint, outlining the dimensions and materials needed. Measure twice, cut once â€" this old adage is especially important for a successful shed build!
Essential Measurements and Materials
Accurate measurements are paramount. Determine the length, width, and height of your lean-to. Don't forget to factor in the roof overhang. Based on your design, create a detailed materials list. This should include:
- Pressure-treated lumber for the base, frame, and roof supports
- Plywood or OSB sheeting for the walls and roof
- Roofing felt or shingles
- Nails, screws, and other fasteners
- Level, tape measure, saw, hammer, drill, and other basic tools
Consider purchasing slightly more materials than you estimate to account for potential errors or unexpected needs. Remember to check your local building supply store for current pricing and availability.
Constructing the Shed Frame
With your materials gathered and your plan in hand, you’re ready to build the frame. Begin by creating the base. This involves laying down pressure-treated lumber to create a level foundation. Secure the base using long screws or concrete anchors, depending on your chosen location and local building codes. Next, erect the walls. Cut and assemble the vertical supports, ensuring they're plumb and properly secured to the base. Finally, construct the roof frame. This involves attaching rafters to the top of the wall supports, creating the sloped roof structure. Ensure the rafters are evenly spaced and securely fastened. Take your time here; a strong, stable frame is essential.
Sheathing and Roofing Your Lean-To Shed
Once the frame is complete, it’s time to add the sheathing. This involves attaching plywood or OSB sheeting to the walls and roof. Ensure the sheeting is flush and tightly secured to the frame. Proper sheathing creates a weather-resistant barrier. After the sheathing, apply roofing felt or shingles. Start at the bottom of the roof and work your way up, overlapping each layer to prevent leaks. Use roofing nails specifically designed for this purpose. A well-sealed roof is crucial for the longevity of your shed.
Finishing Touches and Considerations
With the structure complete, add your finishing touches. Consider adding a door and/or windows for better access and ventilation. You might paint or stain the shed to protect the wood and enhance its appearance. Remember to check local building codes for any necessary permits and inspections. A well-maintained lean-to shed can provide years of reliable storage. Enjoy your new outdoor space!
Important Note: Safety first! Always wear appropriate safety gear, including eye protection and gloves. If you're unsure about any step, consult a professional. This guide is for informational purposes only. Always prioritize safe construction practices.


No comments:
Post a Comment