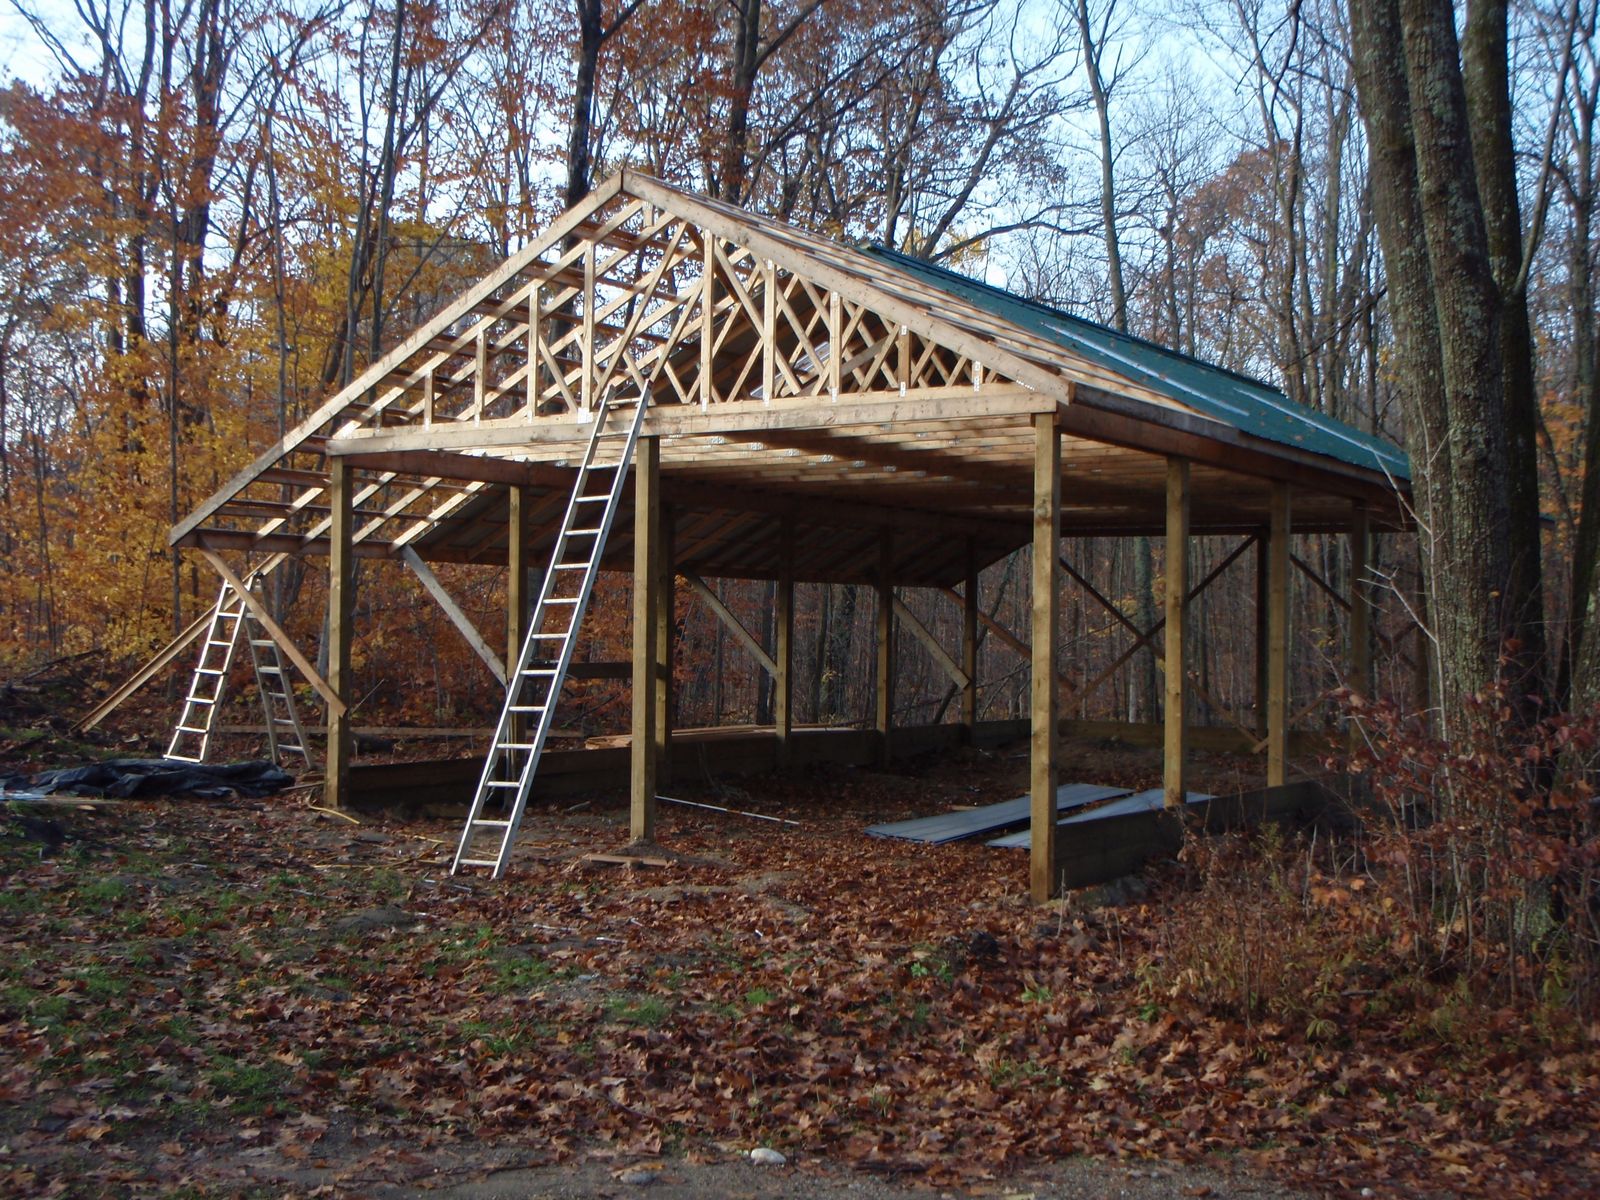
Okay, you're looking to build a pole barn, but not just any old pole barn. You want a multi-section one! Maybe you're planning on having a workshop, a storage area, and even a little hangout space for friends. Or perhaps you're thinking big â€" a multi-bay garage for your collection of classic cars, a space for your animals, and a hay storage area. Whatever your vision, building a multi-section pole barn can be a rewarding and challenging project.
Let's dive into the world of multi-section pole barn construction, breaking down the process step-by-step.
1. Planning is Your Best Friend
First things first, don't rush into anything! Planning is key. Here's what you need to consider:
Purpose and Size: What will each section of your pole barn be used for? This will dictate its size, layout, and even the materials you use. If you're planning on using a section for animals, you'll need to consider things like ventilation and flooring. If you're building a workshop, you'll need to consider electricity and heating.
Location, Location, Location: Choose a spot with good drainage and easy access for your materials. Check with your local building department about any zoning restrictions or permits required.
Design & Layout: Start sketching out your ideas. Think about how you want the sections to connect â€" a common wall, separate roofs, or even a shared roof with different heights? This will impact the structure and construction process.
Budget: Know your limits! Pole barns are generally budget-friendly, but the costs can vary significantly depending on size, materials, and any added features.
Building Codes and Permits: Always check with your local building department for specific requirements and necessary permits.
2. Choosing the Right Materials
You've got your plans ready â€" now it's time to choose the materials. This is where you can really personalize your pole barn:
Posts: The most common post material is treated lumber. It resists rot and insects. You can also opt for steel posts for added durability and longevity.
Trusses: These are the framework for your roof. You can purchase pre-engineered trusses, or choose to build your own from lumber.
Sheathing & Siding: Plywood or OSB (Oriented Strand Board) are typically used for sheathing. Siding can be metal, wood, or even vinyl, depending on your budget and aesthetic preferences.
Roofing: There are tons of options â€" asphalt shingles, metal roofing, even rubber membrane roofs. Consider your climate and budget when making your choice.
Doors and Windows: Select doors and windows that are appropriate for the size and purpose of each section. Consider using sliding doors for large openings.
3. Foundation: Laying the Cornerstone
Now, it's time to build the foundation. For multi-section pole barns, there are two common options:
Concrete Piers: This is a popular choice for pole barns. They are poured directly into the ground, offering a solid base for the posts. The piers are spaced according to your plan and connected by a perimeter foundation wall or beams.
Sonotube Foundations: This method uses large cardboard tubes filled with concrete. They are a bit more economical than concrete piers but may need to be reinforced for heavier loads.
4. Erecting the Posts: The Backbone of Your Barn
Once the foundation is set, you can begin erecting the posts.
Plumb and Level: This is crucial for a stable and structurally sound building. Use a level and plumb bob to ensure each post is perfectly aligned.
Post Bracing: To ensure stability, you'll need to add bracing between the posts. This can be done with horizontal bracing, diagonal bracing, or a combination of both.
Top Plates: Connect the posts with a top plate, which will serve as the base for your trusses.
5. Framing the Roof: A Symphony of Trusses
With the posts in place, it's time to frame the roof.
Truss Installation: The trusses are typically pre-cut and delivered to the site. They are lifted into place and connected to the top plate.
Ridge Board: A ridge board runs along the top of the trusses, adding support and creating a flat surface for the roofing.
Gable End Framing: If you're using a gable roof, you'll need to frame the gable ends. This is where your roof will meet the walls, providing a clean finish.
6. Sheathing and Siding: Adding Strength and Style
Now it's time to close in the walls and roof.
Sheathing: Install plywood or OSB sheathing to the walls and roof. This adds structural strength and provides a smooth surface for the siding.
Siding: Apply your chosen siding material. Remember to leave gaps for ventilation.
Roofing: Install your roofing material according to the manufacturer's instructions.
7. Doors and Windows: Light and Access
Doors and windows add functionality and visual appeal to your barn.
Framing: Frame the openings for your doors and windows before installing them.
Installation: Install the doors and windows securely.
8. Interior Finishes: Putting the Finishing Touches
Now it's time to personalize your barn's interior:
Flooring: Choose flooring that suits your needs. Concrete is a practical option, while wood floors offer a more traditional look.
Insulation: Insulate the walls and ceiling to improve energy efficiency and comfort.
Electricity and Plumbing: Install electrical wiring and plumbing as needed.
9. Finishing Touches: The Finishing Touches
Add the finishing touches to make your multi-section pole barn truly special:
Painting or Staining: Give your barn a fresh coat of paint or stain to protect the exterior and enhance the overall look.
Gutters and Downspouts: Install gutters and downspouts to manage rainwater runoff.
Landscaping: Enhance your barn's surroundings with landscaping, walkways, and lighting.
Building a multi-section pole barn is a rewarding project that requires careful planning, attention to detail, and a touch of creativity. But with the right approach and a willingness to learn, you can create a space that meets your unique needs and reflects your personal style. Enjoy the process, learn along the way, and let your imagination run wild!


No comments:
Post a Comment