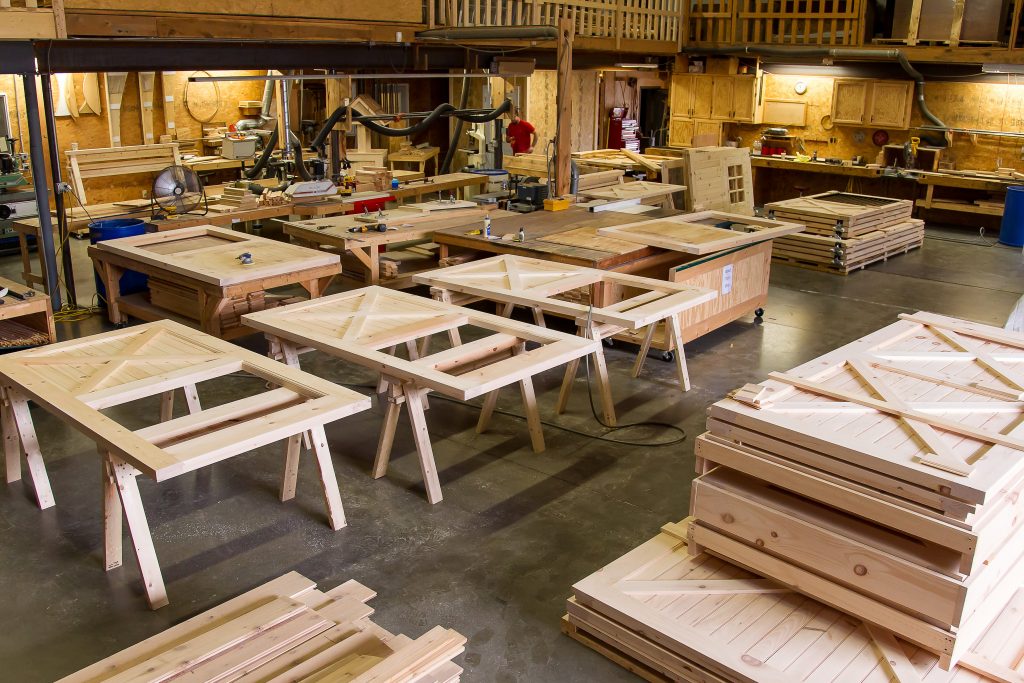
A pole barn, also known as a post-frame building, offers a versatile and cost-effective solution for creating a dedicated workshop, hobby area, or even a spacious garage. Its simple construction and sturdy design make it a popular choice for homeowners and hobbyists alike. This guide will provide a comprehensive overview of the process, from planning and design to construction and finishing, enabling you to build a functional and aesthetically pleasing pole barn.
1. Planning and Design
a) Purpose and Functionality:
Determine the intended use: A workshop will require different features than a hobby area or garage.
Size and Layout: Factor in the equipment, tools, and activities that will be housed within the barn. Leave ample room for movement and future expansion.
Accessibility and Traffic Flow: Consider entry and exit points, potential storage needs, and the placement of windows and doors for natural light and ventilation.
b) Site Selection and Preparation:
Level and Drainage: The chosen site should be relatively level and have good drainage to prevent water pooling and foundation issues.
Utilities: Access to electricity, water, and potentially gas or propane is essential.
Building Codes and Permits: Consult local building codes and obtain necessary permits before starting construction.
c) Design Considerations:
Foundation: Pole barns typically utilize concrete piers or footings to support the post system.
Framing: The primary framing consists of large, sturdy posts that are embedded in the foundation.
Roofing: Common choices include metal roofing, which offers durability and affordability, or shingle roofing for a more traditional aesthetic.
Walls: Pole barns often feature a combination of solid and open walls, allowing for natural light and ventilation.
Insulation and Heating/Cooling: Consider insulation options and heating/cooling systems based on your climate and the intended use of the space.
2. Materials and Tools:
Posts: Use pressure-treated lumber for durability and resistance to decay. Choose the appropriate size and length based on the building's design and local building codes.
Concrete: High-quality concrete mix is required for the foundation piers and footings.
Framing Lumber: Purchase treated lumber for the roof rafters, wall studs, and other framing elements.
Roofing Materials: Choose your preferred roofing material, including metal panels, shingles, or other options.
Sheathing: Utilize plywood or OSB for sheathing the walls and roof.
Siding: Select siding material that complements the overall aesthetic of the barn.
Windows and Doors: Choose windows and doors that meet your needs for light, ventilation, and security.
Tools: Essential tools include a post-hole digger, concrete mixer, saw, hammer, drill, level, and safety equipment.
3. Foundation Construction:
Excavation: Use a post-hole digger to excavate holes for the foundation piers or footings. The depth and spacing should conform to local building codes and the design specifications.
Formwork: Construct formwork around the holes using plywood or other suitable materials.
Concrete Placement: Mix and pour concrete into the forms, ensuring a solid and level foundation. Allow ample curing time before proceeding.
4. Framing and Erecting the Structure:
Post Installation: Set the posts into the concrete piers, ensuring they are plumb and level. Use temporary bracing to maintain stability.
Roof Framing: Construct the roof trusses or rafters and secure them to the posts.
Wall Framing: Install wall studs and bracing, ensuring proper alignment and support.
Sheathing: Attach sheathing to the walls and roof, creating a solid surface for siding and roofing.
5. Roof Installation:
Roofing Underlayment: Install a waterproof underlayment over the sheathing to provide an extra layer of protection.
Roofing Installation: Secure the chosen roofing material to the roof, following manufacturer instructions. Ensure proper flashing and sealing around vents and other penetrations.
6. Siding and Finishing Touches:
Siding Installation: Install the chosen siding material, whether it be metal, vinyl, wood, or other options. Ensure proper installation and finishing around windows and doors.
Window and Door Installation: Carefully install windows and doors, ensuring proper weather sealing and functionality.
Interior Finishes: Consider drywall, paneling, or other materials for interior wall and ceiling finishes.
Electrical and Plumbing: Install electrical wiring, lighting, and plumbing fixtures as needed.
7. Essential Considerations:
Safety: Always prioritize safety by wearing appropriate safety gear, following building codes, and using proper techniques.
Professional Assistance: Consider hiring professionals for complex tasks or if you lack experience with construction.
Maintenance: Regular maintenance, including painting, cleaning, and inspecting the structure, will extend its lifespan.
8. Benefits of a Pole Barn:
Cost-Effective: Pole barns are typically less expensive to build compared to traditional structures.
Fast Construction: The simple design and prefabricated components allow for faster construction.
Versatility: Pole barns can be customized to suit various needs, from workshops and garages to hobby areas and even small barns for livestock.
Durability: The sturdy construction and use of durable materials contribute to the longevity of a pole barn.
9. Potential Drawbacks:
Limited Insulation: Pole barns may not offer the same level of insulation as traditional structures, potentially impacting comfort and energy efficiency.
Aesthetic Limitations: The simple design of a pole barn may not appeal to everyone, and limited architectural details are possible.
Building Codes: Local building codes may have specific requirements for pole barns, which need to be adhered to.
Conclusion:
Building a pole barn can be a rewarding project, providing a valuable addition to your property. By carefully planning, designing, and following these steps, you can create a functional and aesthetically pleasing structure that meets your specific needs for a workshop, hobby area, or other purposes. Remember to prioritize safety, consult with professionals when needed, and enjoy the process of building your own pole barn.


No comments:
Post a Comment